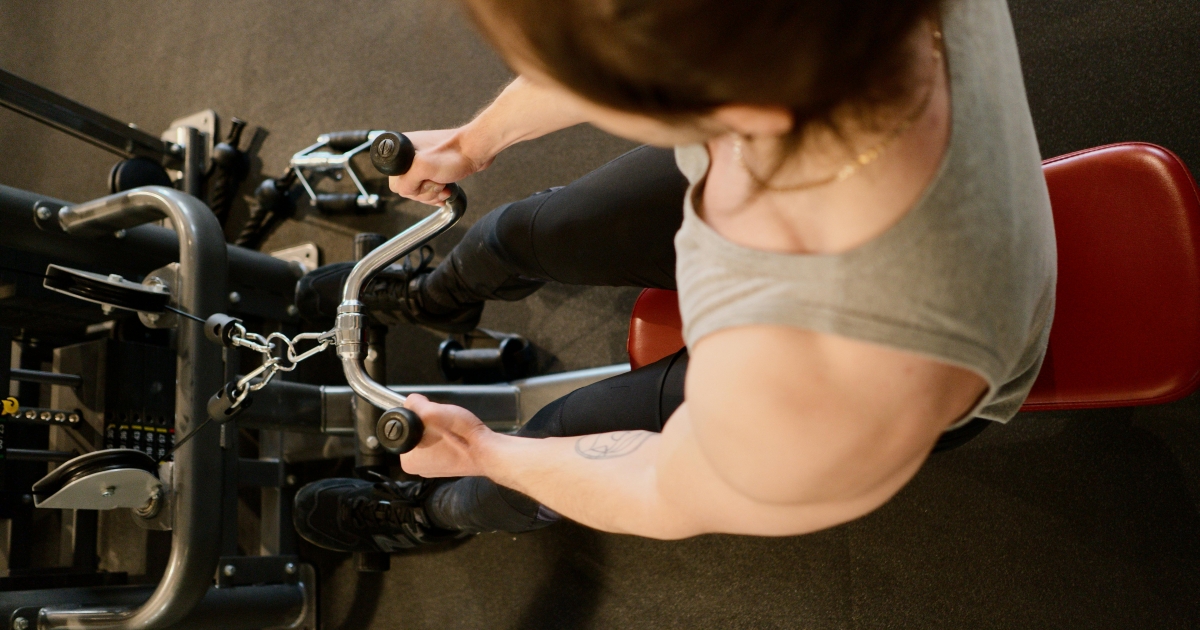
Photo credit to Ivan Samkov
As you may have guessed from the projects section of this blog, I like home gym stuff. I work with a limited space and as such I try to squeeze the most out of it. In 2023, I bought a lat pull / low row kit from Rogue. The lat pull seat is very nice, exactly what I expect from Rogue. The low row did not work for me. This might be a result of trying to attach it to an EliteFTS rack, something it was most definitely not designed for and a project which involved a lot of welding and an oxyacytelene torch. In any case, it did not work and that was likely not the fault of the fine people at Rogue Fitness.
All that said, I think they are onto something with trying to combine pieces but I think my way is better. The lat pull seat and the low row are separate and bulky items. For these two bulky items, I get two machines. If I want to do rows, I need to attach both of them to the rack. In my version, I have two bulky items which replace three machines. If I want to do rows, I only need to attach one of them. The main downside is that I cannot set up my rack to do lat pulldowns and low rows at the same time (which is a combination of exercises commonly done together).
I am building this project for a couple reasons. (1) I like building things and I like lifting weights but I have a small space for a home gym. (2) I tried to modify the low row from Rogue fitness and it did not work so I have pieces of a non-functional low row that I would like to make functional. (3) When I was struggling with my bench press, I identified triceps as the weak link and began doing a lot of tricep isolation work. This greatly improved my bench press. Now, struggling with my squat, I have identified quads as the weak link. I hope that lots of belt squats will have a similar effect on my squat that tricep isolations had on my bench press.

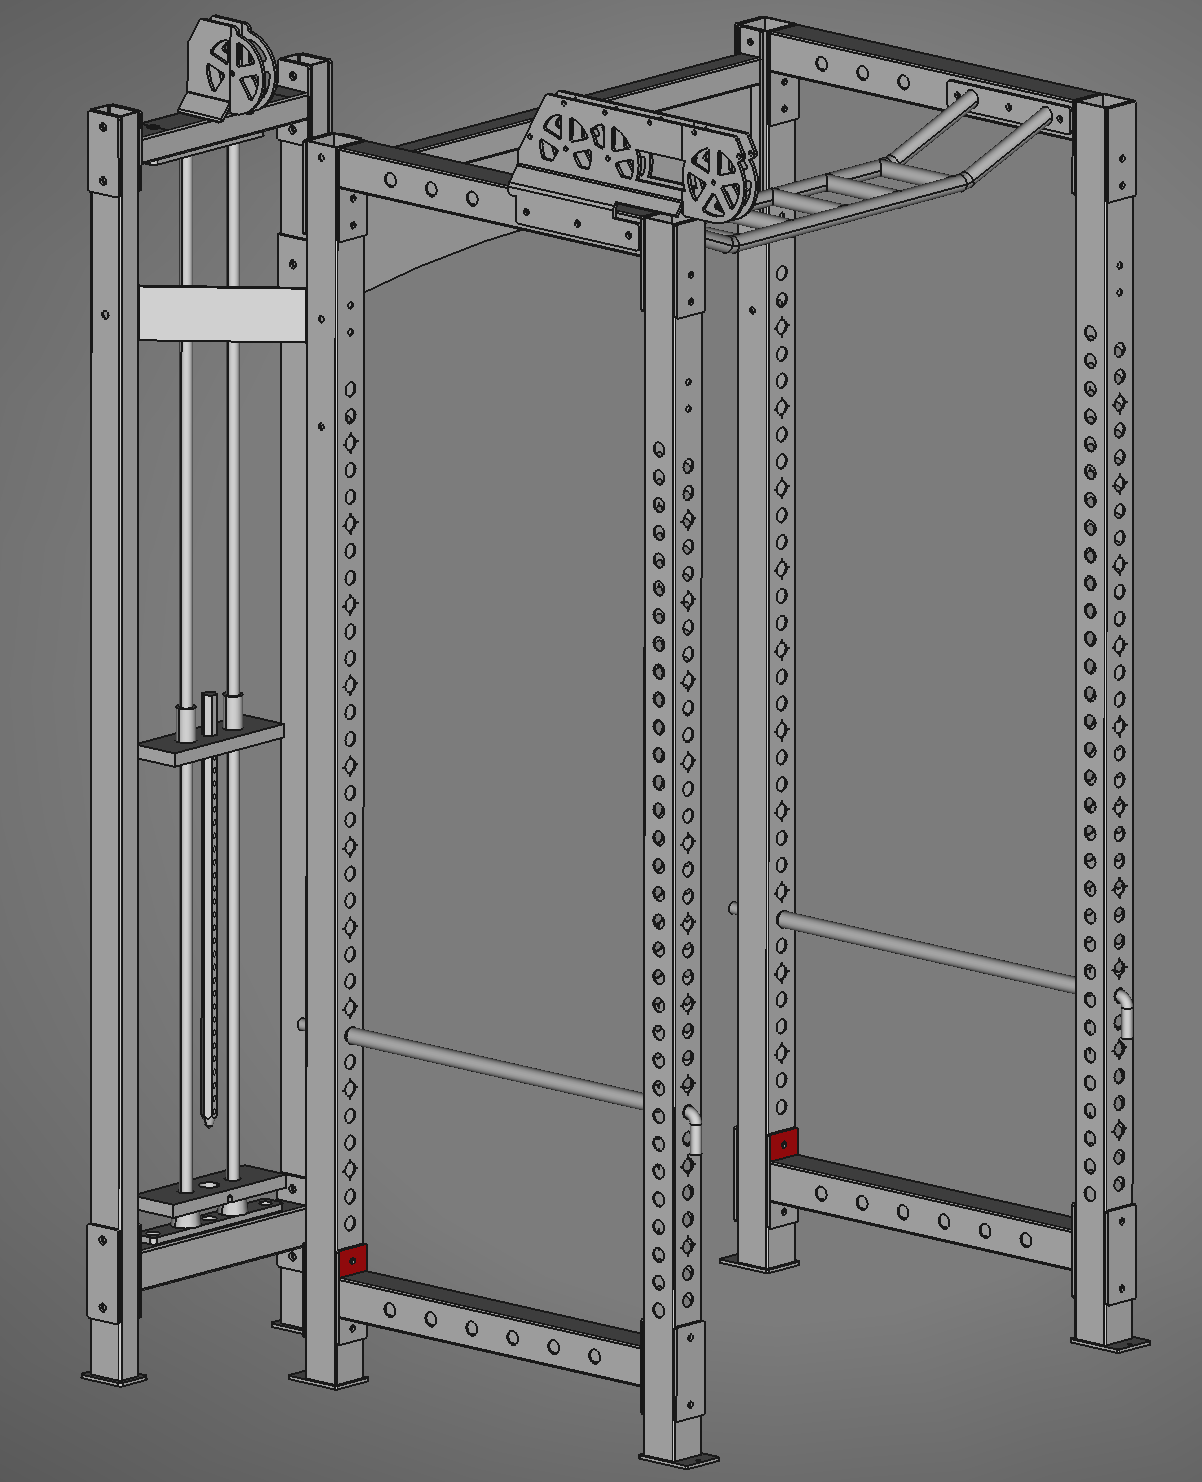
[Caption] My full squat rack is a combination of parts from EliteFTS and Rogue Fitness as well as my own welding/fabrication.
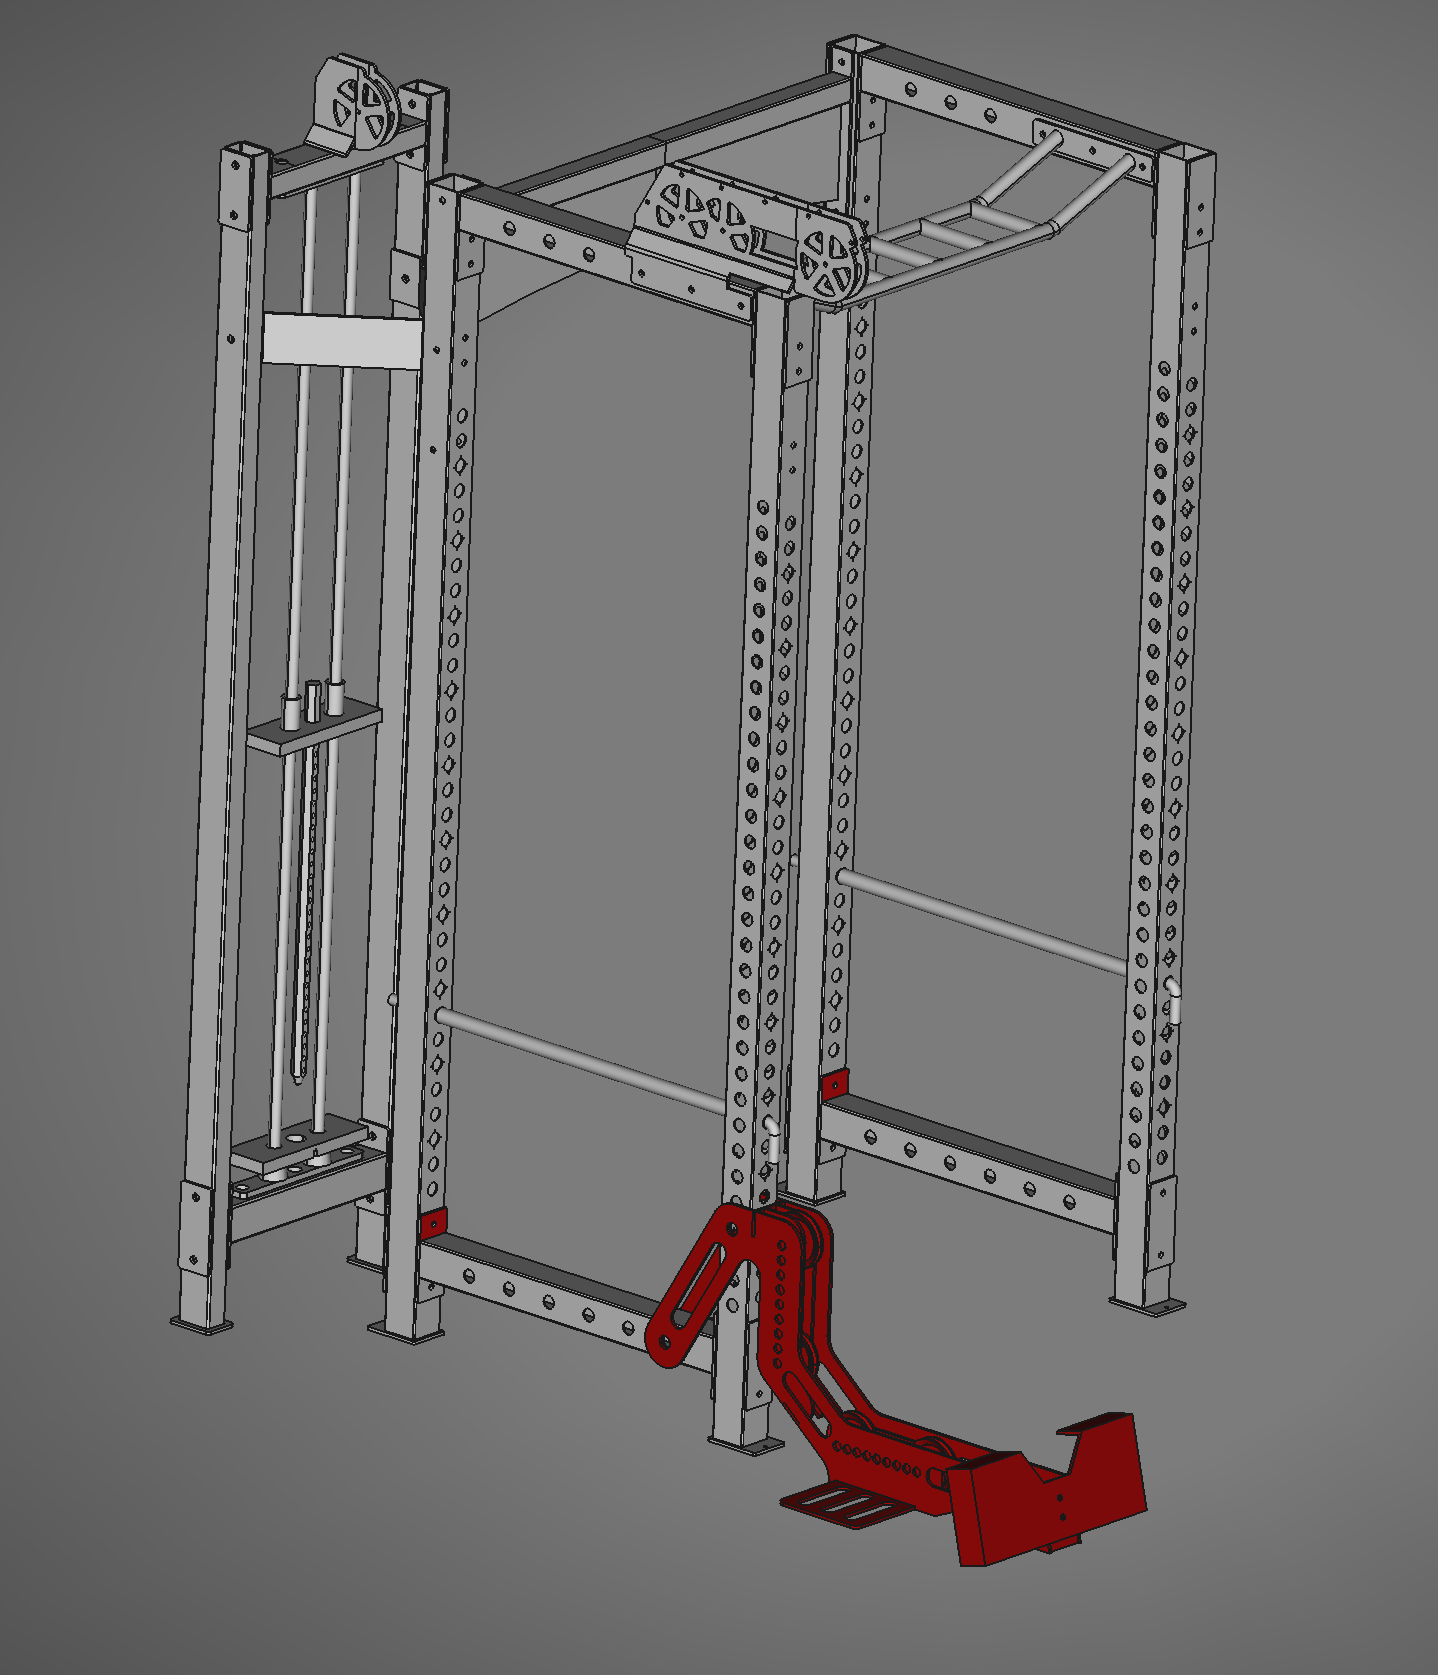
Our device needs to transfer the tension in the cable at the top down to a pulley or two at the bottom. Because I do not know for sure what height of pulley I want for the low row or what distance from the upright I want for the belt squat, I am going to make them adjustable. Hence the 9 hole positions for each pulley.

[Caption] Low row belt squat attachment.
I am using the foot plate from Rogue's kit in this build. The pulleys are from amazon.
[Caption] From the 3d model, I made this dxf file for the machine shop to plasma cut my parts from 1/4" steel plate.
[Caption] Also from the 3d model, I made an exploded view to reduce confusion as I welded everything together.
The holes in the center pieces are deliberately missing. The pulleys I have require a 3/8 inch bolt and therefore 3/8 inch holes in the center pulley supports. The plasma table cannot accurately cut a 3/8 inch hole. I solved this problem by using transfer punches to mark hole positions in the center pieces and drilling them out with a drill press. However, if you try to make this, you should use a laser cutter which will have no problem making a 3/8" hole in 1/4" steel. I discovered later that SendCutSend will do this for you for a shockingly reasonable price.
About a month after completing this project, I discovered SendCutSend, an on-demand sheet fabrication service. Very simply, they take your 2D CAD drawing, cut it out, and send it to you surprisingly quickly and economically. You choose from their stock materials (which are numerous -- steel, stainless steel, aluminum, titanium, plastics, plywood etc), and, if necessary, select from their post-processing options (things like bending sheet metal, tapping or countersinking holes, anodizing, powder coating, etc). Post processing options available depend on the material (ie, you can't anodize baltic birch plywood). Most of their stuff is laser cut but some materials are cut with a waterjet or CNC router. I placed about 5 orders in the first month, it solves so many problems in my day to day life.
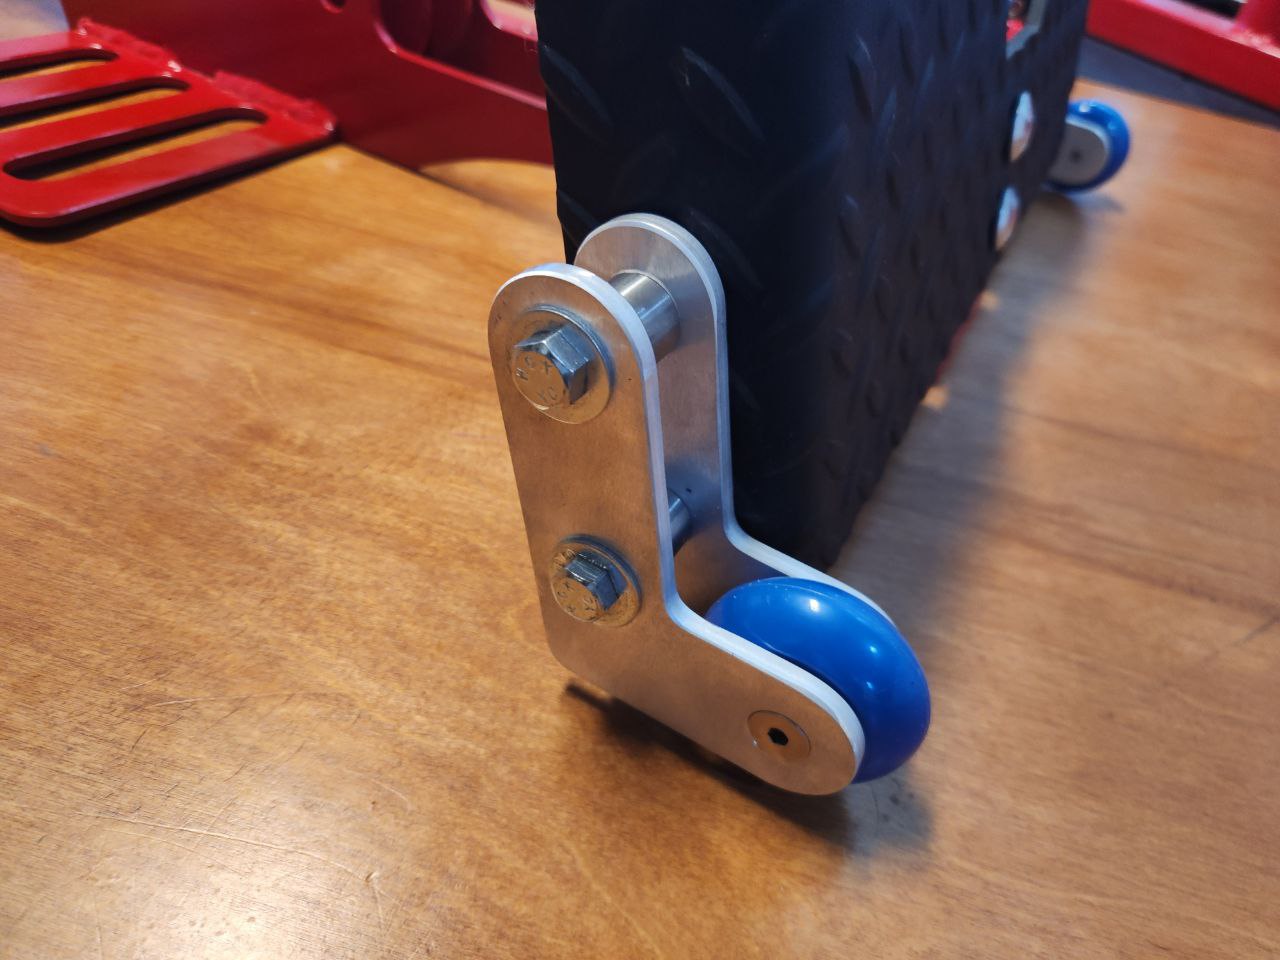
SendCutSend solved two problems on this project. First, this thing wound up a little awkward and heavy to move around so I made some wheel brackets for it. The offset to support the outside bracket is 1/2" stainless steel pipe. These brackets are 1/4" thick 5052 aluminum with countersunk and tapped holes. 5052 aluminum is the most economical aluminum available from SendCutSend.

[Caption] Bolts and wheels from McMaster-Carr. 3/8" bolts from Home Depot.
My second problem was more complex. The rope can not be feed through the pulleys with a knot because the clearance is tight. I need a quick way to attach a carabiner to the rope and adjust its position. There are many such devices for climbing but they all work on 9-11 mm rope. The rope going through a cable machine is ~6 mm. I could not find any adjustable rope catch devices for 6 mm rope.
[Caption] Small bolts, large bolts, and thin profile lock nuts from McMaster-Carr. The outer pieces were cut from 1/8" 304 stainless and the center pieces from 1/4" 304 stainless. In testing pictured here, it easily holds 90 lbs. I have not had any trouble with it slipping on belt squats or low rows (where I am using 100-150 lbs of the weight stack).
Pressure block, side panel, and spacer block dxf files were cut by SendCutSend. I spent $41.52 at SendCutSend and $83.86 at McMaster-Carr on this part of the project. Also, it is vital to round over and sand smooth the edge of the stainless steel on the side pieces near the locking mechanism. When I tried to test it without doing that, I severed a rope. Luckily, the rope failed during testing and not while I was using it. Ropes do not like sharp edges, especially under tension, even moderate tension.
[Caption] All in all, I'm very happy with this project. These are the second and third projects I designed in 3D CAD (second and third referring to the red steel part and the rope catch piece, respectively). I learned a lot of CAD tricks and discovered SendCutSend (the wheel brackets and rope catch were my third and fourth orders on SendCutSend, respectively). Most importantly, I enjoy using the end product and I am hopeful it results in new personal records for me.